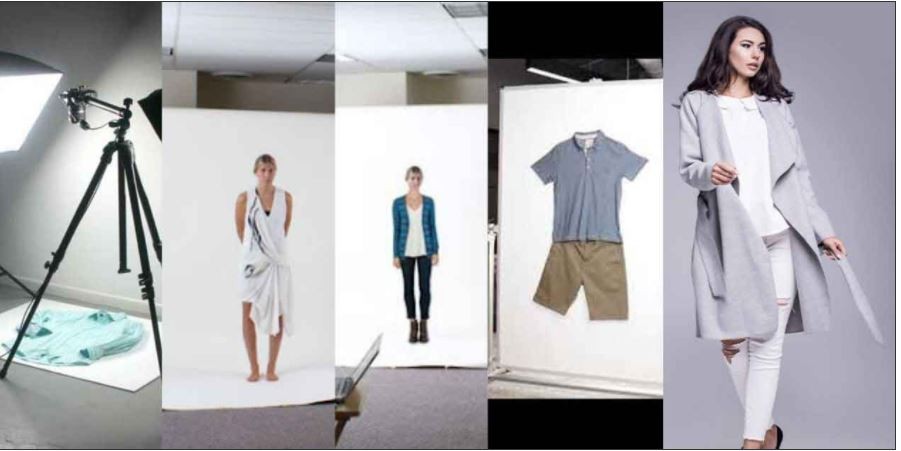
Ghost mannequins present images in a very realistic way. This technique seamlessly blends multiple shots of a garment, giving it a three-dimensional look while removing the mannequin or model. In this comprehensive guide, we’ll delve into the intricacies of mastering this effect using Adobe Photoshop.
Table of Contents
The Ghost Mannequin Effect
How to Create a Ghost Mannequin Effect in Photoshop (Step-by-Step Guide), it’s crucial to grasp the concept behind the ghost mannequin effect. Essentially, it involves merging two or more images of a clothing item—one with the mannequin or model wearing it and another of just the clothing laid flat. By combining these images, you create the illusion that the garment is being worn naturally, sans any distractions.
Preparing Your Images
To kickstart the ghost mannequin magic, ensure you have two sets of images for each garment: one with the clothing worn by a mannequin or model and another with the clothing laid flat. These images should be shot under consistent lighting conditions to maintain uniformity.
Image Selection and Preparation
In Photoshop, open the images you’ll be working with. Start by selecting the image with the mannequin/model wearing the garment as your base. Use the Pen Tool to carefully outline and remove the mannequin, leaving only the clothing visible.
Editing the Flat Lay Image
Next, open the image of the clothing laid flat. Align this image with the edited base image from Step 2. Make any necessary adjustments to ensure the garment’s proportions match seamlessly.
Blending and Layering
Create layers for each part of the garment, such as the front, back, sleeves, etc. Use layer masks and blending modes to merge these layers seamlessly, giving the illusion of a complete garment without the mannequin.
Fine-Tuning and Refinement
Zoom in and meticulously refine the edges and details of the garment. Pay close attention to areas like collars, cuffs, and seams to ensure a natural and professional-looking result.
Final Touches and Quality Check
Once satisfied with the merging and blending, perform a thorough quality check. Look for any inconsistencies or imperfections and address them accordingly. Pay attention to shadows, lighting, and overall realism.
Leveraging the Ghost Mannequin Effect for E-commerce Success
The ghost mannequin effect isn’t just a fancy technique; it’s a powerful tool for e-commerce success. By presenting your clothing items in a lifelike manner without distractions, you can significantly enhance the customer’s shopping experience. Studies show that visually appealing product images lead to higher conversion rates and increased customer satisfaction. Utilizing the ghost mannequin effect in your online store can set you apart from competitors and boost sales.
Advancing Your Photoshop Skills
Mastering the ghost mannequin effect is not only beneficial for fashion photographers but also for graphic designers and digital artists. The skills acquired through this process, such as precise selection, layering, and blending, can be applied to various other projects. Whether you’re creating visual content for social media, designing marketing materials, or retouching images for clients, the techniques learned in creating the ghost mannequin effect will undoubtedly enhance your Photoshop prowess and elevate your creative abilities.
Conclusion
Congratulations! You’ve now mastered the art of creating the ghost mannequin effect in Photoshop. This technique is invaluable for showcasing clothing items in a professional and visually appealing manner. Experiment with different garments, angles, and lighting to perfect your skills and elevate your fashion photography game.

